When we were building our house many years ago we did pretty well. The house was well constructed and we made serious attempts to improve it’s thermal performance and achieved pretty good performance by the standards of the day. A lot of people at the time kept saying we were crazy and wasting our money. “Why are you putting in all that insulation?”, “Solar hot water? what for?” etc. etc. Fast forward to today and these things are virtually compulsary if you want to meet the (still modest) building requirements in Australia. However, we didn’t get it all right.
Although the performance of the house is good, it was still getting a bit too hot in summer and too cold in winter without the heater being on far longer than I wanted. The summer performance has been improved significantly by the addition of a verandah and climbing vines on the north face (the side towards the equator in the sunny old land of Oz) and some experiments in window shading (we might discuss that in more detail in another post) while the winter perfomance has steadily been improving with the addition of DIY double glazing.

Thermal Image shows heat radiating through windows
Two things I wish we had done when we built were, edge insulate the slab, especially since we have hydronic slab heating, and installed double glazing. In the case of the double glazing it should have been a “no-brainer” but double glazing at the time was horrendously expensive (it has since come way down in price) and I thought it wouldn’t be worth it. Boy, what a mistake! We probably would have saved more than the additional price by now in reduced heating costs. Same with the slab insulation. Ah, well! Live and learn.
Two days ago the weather turned from a balmy mid-high 20’s Celsius down to single digits overnight. It took another day or two before the jumpers and long sleeves weren’t enough and it was time to turn on the heater. It was also past time to fix up and install the rest of the DIY double glazing.
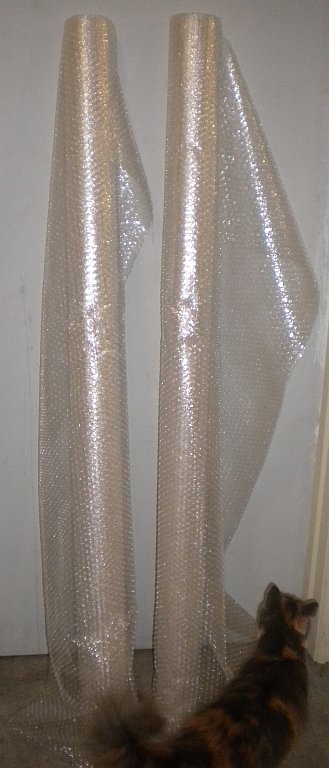
Bubble wrap, cut to length, being inspected
On most of the windows in the front of the house and in the bedrooms we have thick curtains and pelmets and these do a great job of minimising heat flow through the windows, but they could be improved. At the back of the house we only have vertical blinds which are great at screening, but rubbish at keeping the heat in (or out). I’ve tried a couple of DIY double glazing solutions and some commercial solutions but I wanted something fast, cheap and easy for the majority of the windows. It had to let in the light but I wasn’t too concerned about the view (from those windows at least). Something tugged at corner of my mind and suddenly “POP” or rather “POP, POP, POP” there it was…, “Bubble Wrap!”
I did some measuments and a quick search on the internet (ok, it wasn’t all that quick) and ordered a 50 meter roll of bubble wrap that was wide enough to cover the windows. It was a bit more than I needed, but I have some other cunning plans for the rest, and it was a reasonable price (under $50 delivered). Armed with a hobby knife and some tape I cut lengths and taped them to some window frames. One of the things you notice when you stand near a window on a cold day is the cold air running past your feet. This happens because the air against the window cools down, falls to the ground and is replaced by warm air which repeats the cycle forcing that cold air past your feet. So a good way to determine if you have improved the thermal performance is to get near the window and check how much that cold air flow has been reduced. In my case I was more than pleasantly surprised. So simple, so easy, so effective, until the next day when the tape and the bubble wrap started coming away from the window. Bugger! I would have to find a better way.
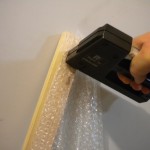
 I fiddled around with a couple of alternatives and, in the end, I used some 42mm x 19mm pine, (partly because I already had some and partly because it was a conventient size for the window frames) cut to length and stapled the length of bubble wrap along it.
I then screwed in a support bracket on one side of the frame, used the lip on the sliding window as the other support and simply hung the bubble wrap like a curtain up against the frame. Provided you don’t get in there and move it around too much it stays against the frame and provides the air lock necessary to insulate the window. It works a treat. Total cost per window was probably around eight dollars not counting the extra bubble wrap left over for which I have another use anyway.

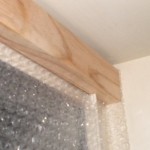
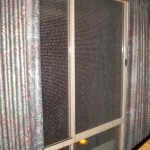

Now, it looks a bit odd, having bubble wrap hanging on the window and, although it lets in the light, you do lose the view. However, it does become clearer over time. It’s also not immune to small animals and children but it works surprisingly well. If you want something that is a bit closer to commercial double glazing, then it costs a bit more and takes more effort. But that will have to be the subject of a whole other post.
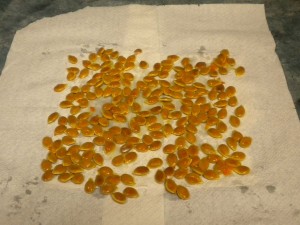
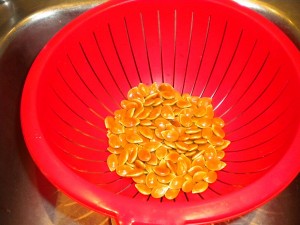 Saving pumpkin seeds is very easy, different people have different techniques and this is the one we used. First we scooped out the seeds and pulled them from the stringy flesh that holds them in place. I find the easiest way to remove the seeds from the pumpkin is with a tablespoon. Once they are roughly cleaned, soak them in a bowl of water for a day or two to loosen the remain pulp around them and give them another wash in a colander and leave to drain.
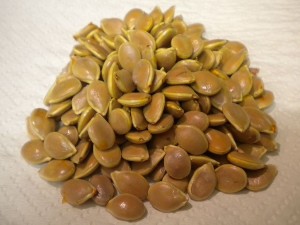 Once they’re dry carefully lift them from the paper or cloth. They might stick a bit as they dry out but they should be able to be lifted reasonably easily.