Jan 01

The Circle Continues

Our dog Xena has been sick for a while now and off her food. We thought she would be lucky to make it to the new year as she was pretty old and seemed to be on her last legs.

Well she was lucky…just.

She greeted us when we got in at 4:30am this morning after New Years celebrations, but she died sometime before 11:am and we found her in the loungeroom. By the look she seemed to have died peacefully in her sleep.

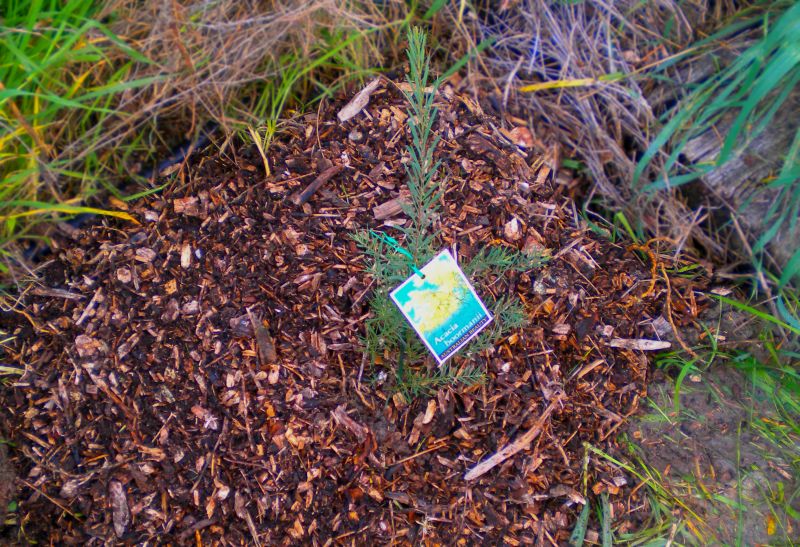
Just got back after buying a Melaleuca tree to bury her under.

A bit sad, but she had a good run and gave us all a lot of happiness.

And just like the cat a few months ago we (see here – the circle of life) we buried her under a new Melaleuca tree to ensure the circle continues.


Postscipt: While locating a suitable spot for the tree, we discovered that one of the chickens had died as well. It was also old but the death was unexpected. The circle does indeed continue.

Oct 19

Oh! Bee-have!

It’s been a while since I posted as I’ve been a bit ill for a few weeks but all better now. One of things that happens of course, is that projects get put on hold until you’re back on your feet. Just before I got sick I was putting together parts for my bee hives in preparation for getting my first lot of bees. I had started to construct the frames that go inside the hive and which the bees use to build the honeycomb. Once I was feeling better I completed enough frames to get two hives started and I thought I should get the rest of the components together in preparation for establishing the two new hives.
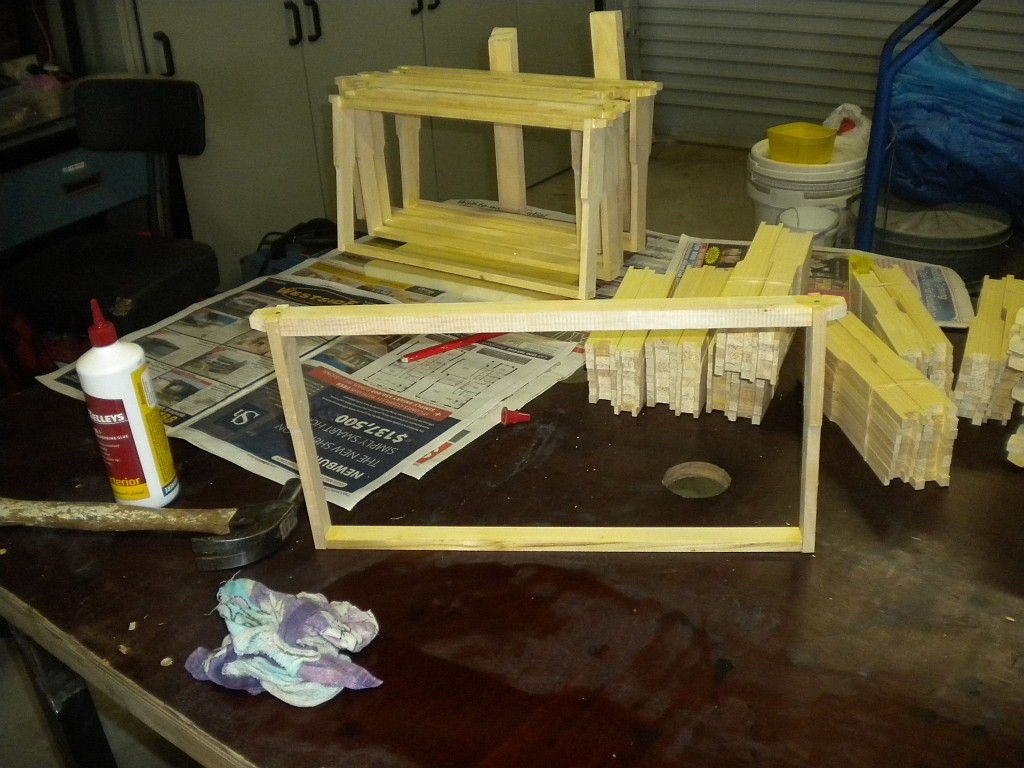
Constructing the wooden frames

The frames are assembled with glue and nails using precut pieces made from hoop pine or similar types of wood. Once you get a system going you can knock these out pretty quickly which is just as well as I need a minimum of sixty-four frames for two hives.

Inserting the wire to support the wax honeycomb

The frames are wired using stainless steel (or galvanised) wire to support the wax honeycomb. Once the wire is threaded through using the homemade jig (based on some existing designs), it is tensioned and tied off on the side of the frame. When the frame is made and tensioned correctly it should be able to be plucked like a harp (although without the pleasing sound).
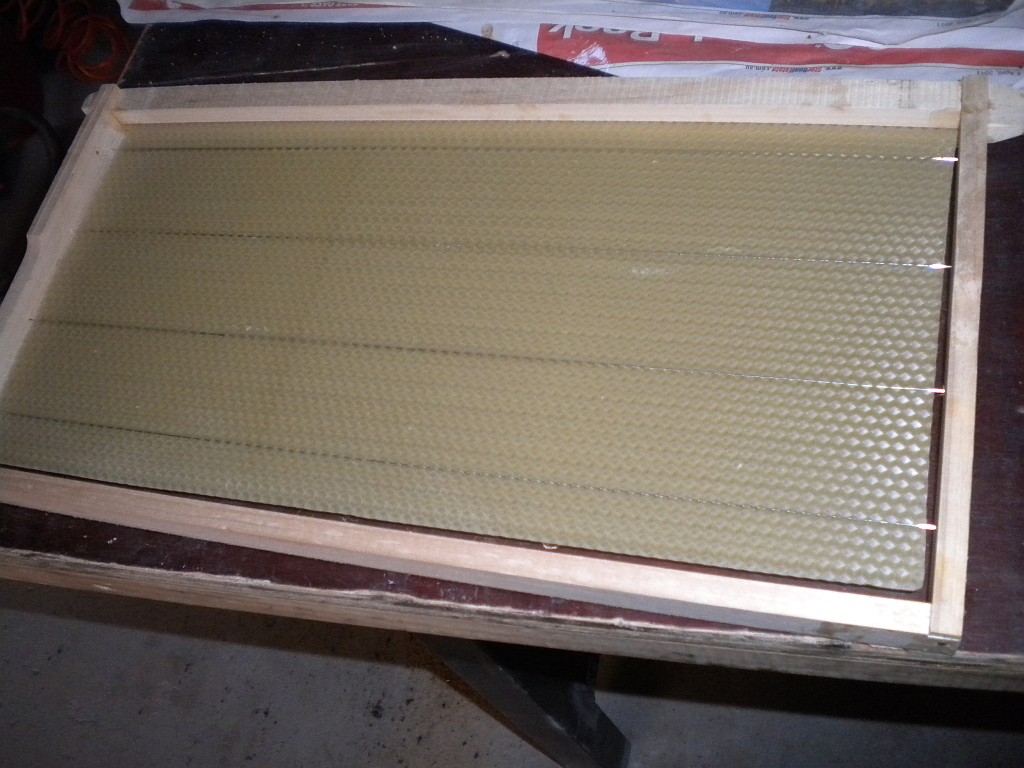
Finally the wax foundation is melted onto the wires using another homemade tool that heats the wire using an electric current. This foundation provides a base for the bees to build the honeycomb and reduces the time and effort it takes (producing wax takes a lot out of the bees) so that the bees have more energy to devote to hive maintenence and honey production.

I started putting together the beekeeping stuff this week including getting the materials to build the top and bottom of the hives today, ready for splitting one of the hives in two or three weeks. It was going to be a relaxing day doing a bit a woodwork and gathering some other materials.
Well yesterday evening the bees decided to take matters into their own hands (feet?) and I found a swarm on one of the trees in the backyard when I went to lock up the chooks. So I had to rush in to the shed and quickly build a top and bottom and set up a hive next to the swarm last night in the dark to, hopefully, attract them. Time will tell…waiting, waiting waiting!
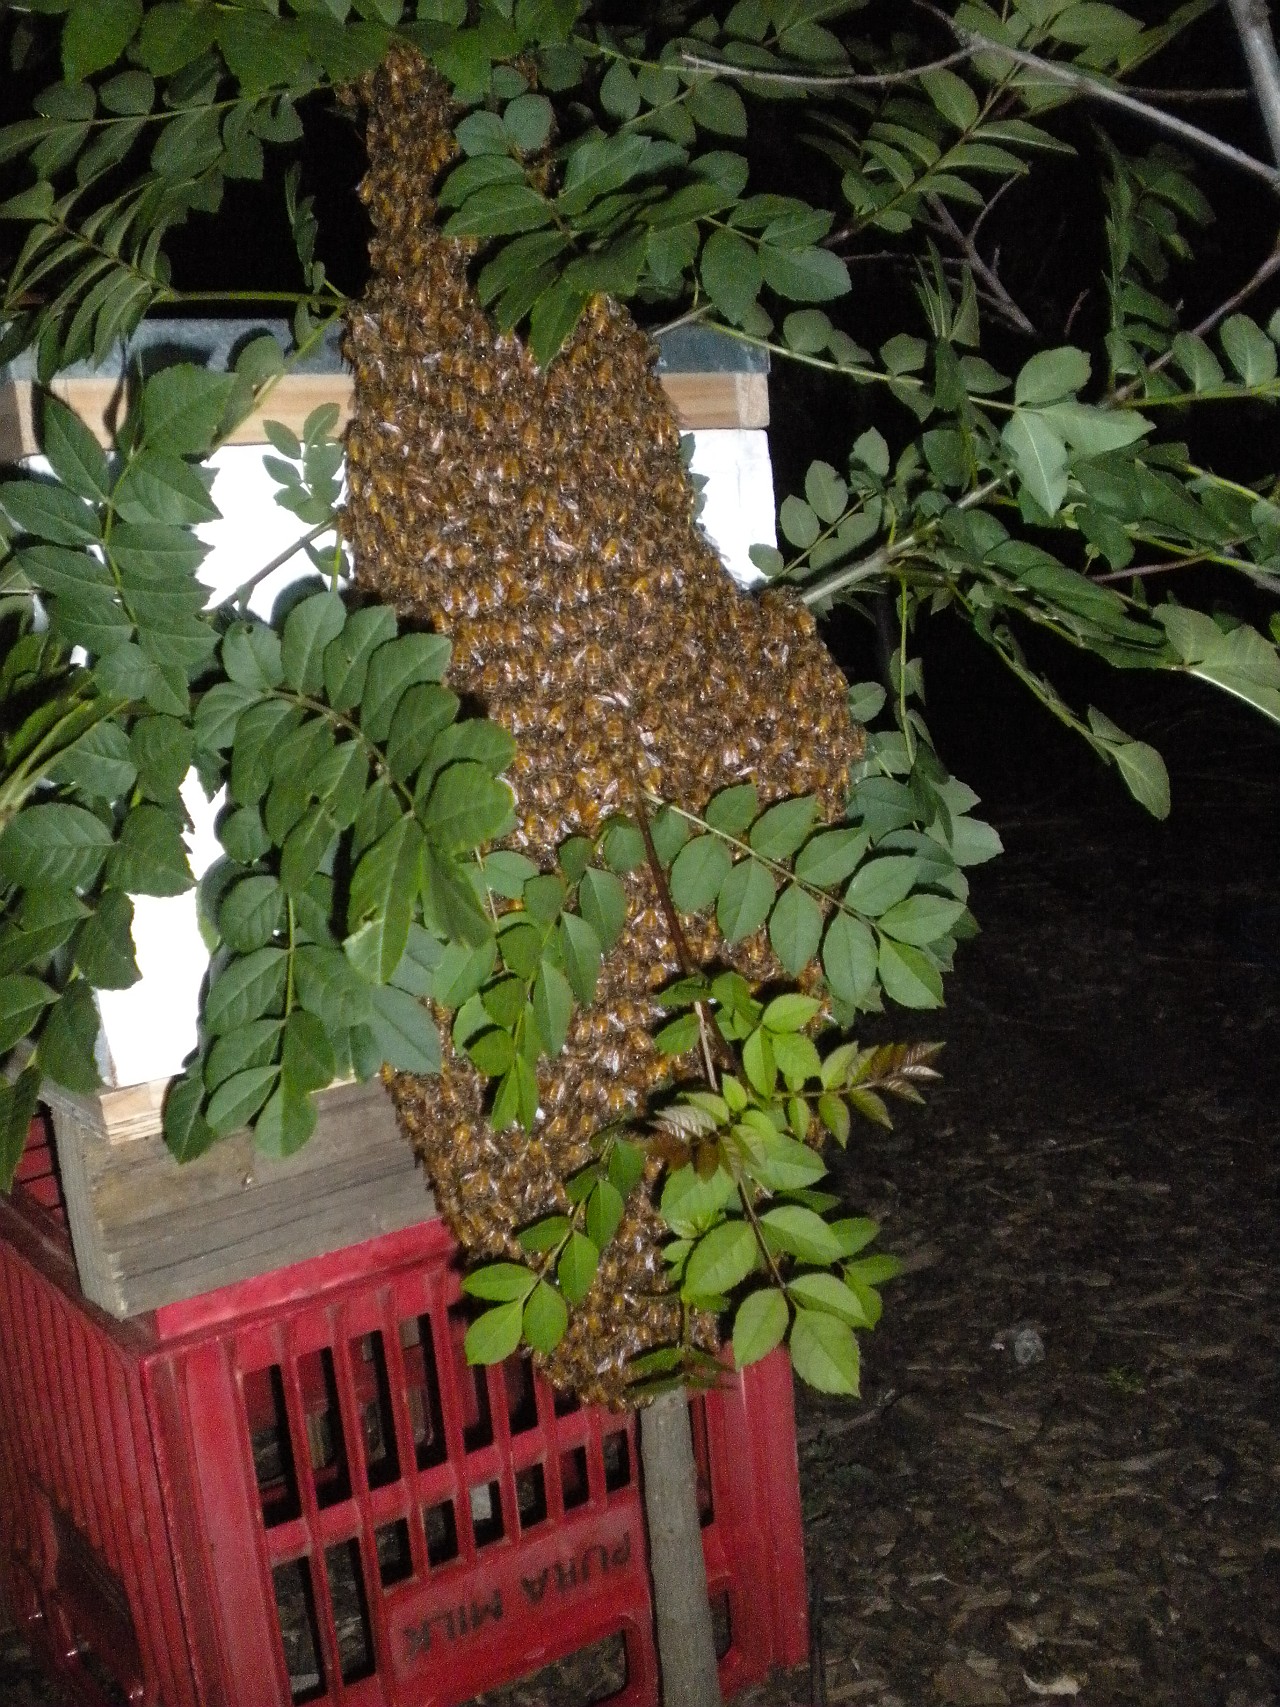
When bees swarm the queen and half the workers leave the existing hive to find new accomodation. The workers left behind rear some new queens who then fight for the top spot and eventually all the bees in the colony are children of the new queen and the hive will have slightly different characteristics. So if you don’t want to lose the existing queen and the characteristics of the hive it is important that you can entice the swarm into a new hive.
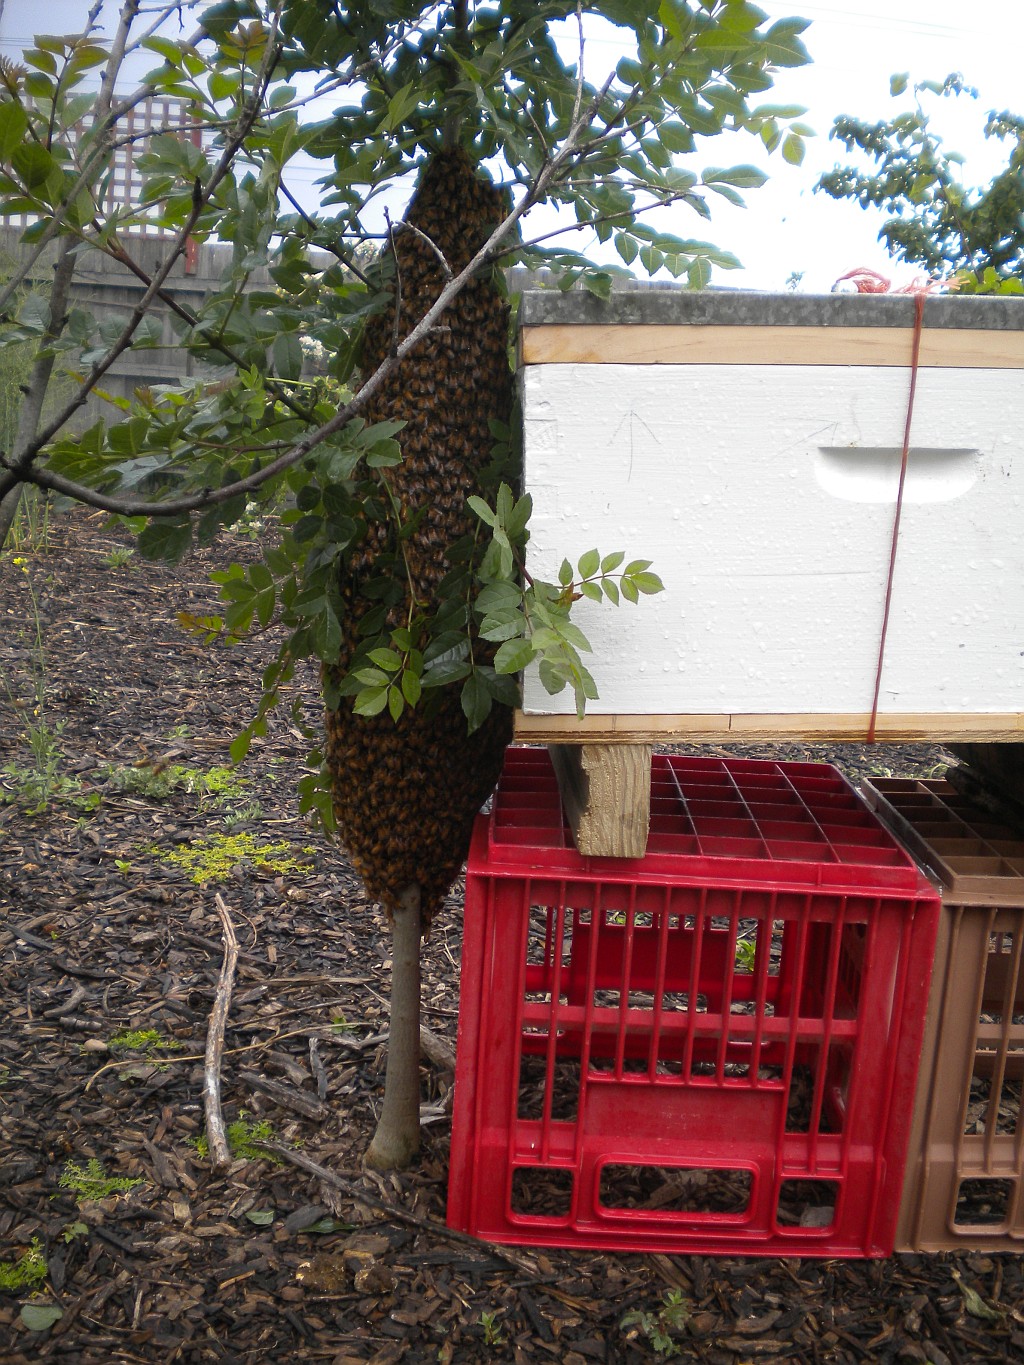
This morning the swarm was still there, seemingly indifferent to the hive placed so conveniently against it. It is a very frustrating time. We don’t want to lose this swarm as the queen is a very good queen and the bees are very docile.
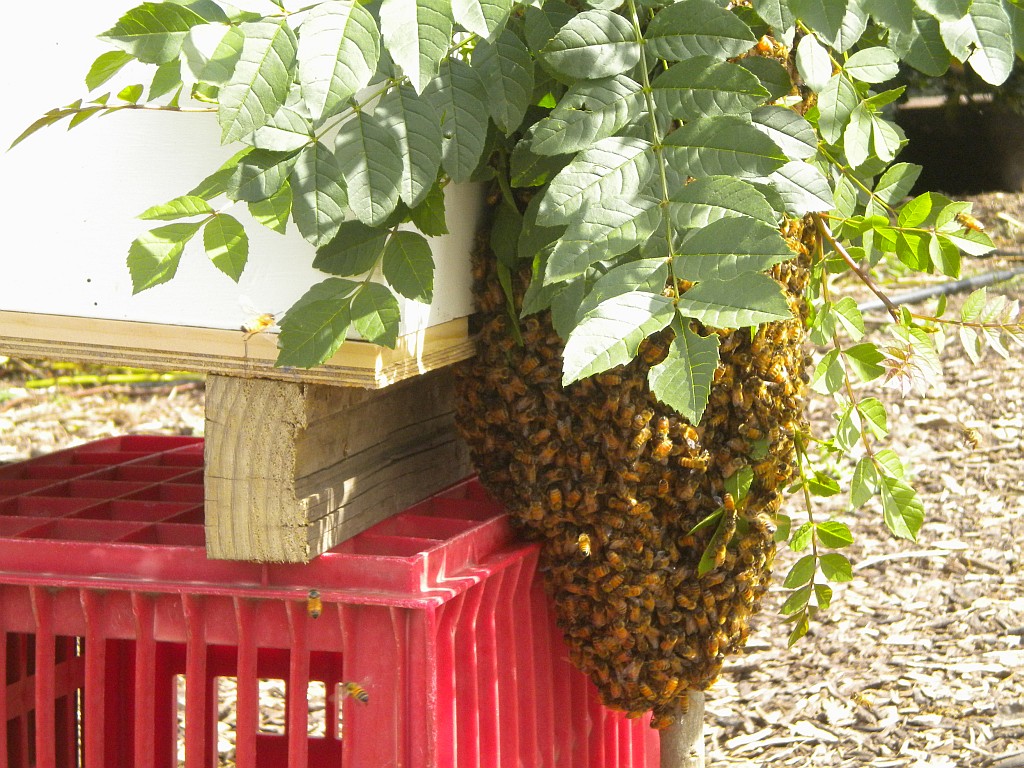
A bit later on this morning, I checked again and bees were definitely making their way into the hive and looking around, but the swarm doesn’t appear to be getting much smaller. Fingers crossed!

UPDATE

After another night and morning of frustration waiting for the bees to move into the hive, I prepared a sugar syrup whcih was dizzled into the back of the hive to try a caox them in. There was a lot of activity with bees enetering the hive looking for the syrup. However, there was still no real movement into the hive.

I was weeding not far from the swarm this afternoon, when suddenly there was a load roaring buzzing noise and I looked around and discovered I was surrounded by thousands of circling bees!

What an experience! I ducked down and moved away (through the cloud of bees) and called my friend who is helping me set up my hives and let him know. We were both very disappointed as I gave him a commentary on the flight of the bees across the ring road and out of site.

One to two more weeks and we would have already split the hive but, as they say, it was not to bee!
(yes, I know)!

Oh well, we will inspect all the hives on Monday and see what the status is and make a decsion about how to best start my hives from this point.

It certainly has been an interesting experience so far 🙂

Sep 06

Measuring a Loaf of Bread

Well, it’s been a while since I posted. I’ve been sidetracked with a few things, some of which will be the subject of future posts. But I thought it was about time I got back into the swing of things because today I found the perfect subject, measuring a loaf of bread.

How do you measure a loaf of bread? Length? Breadth? Width? No?

How about weight? What about calories? Food miles/kilometres? Energy used in production? Greenhouse house gas emmissions (GHG)? Hmmm, now we’re getting closer.

In fact, all those ways are valid, interesting and informative. But I particularly wanted to measure the energy used by our (not so new) breadmaker in making a loaf of bread. Why? Because I hadn’t got around to it yet and I like to understand how our appliances use energy. This helps us reduce our overall energy use. And, since Sustainable House Day is on this weekend, I thought it would be a timely post on measuring energy use.

So how do you measure how much power a breadmaker (or anything else) uses? With a clever little device called a power meter. These meters connect between the power point and the appliance and record power, energy, cost, GHG, etc.

I use one particular brand of power meter that I bought a few years ago when I was doing energy audits but there are many different brands on the market and they do a good job. You can also hire them from various environmental groups and businesses. Many of the newer models store the readings or allow you to download the data to a computer for further study, or to create charts and graphs. This allows you to see how you are using energy and where savings can be made. It also provides a great way to chart your progress.

To use the meter I simply connected the cable from the meter to the powerpoint and then connected the breadmaker to it and let it do it’s thing for the next 4 hours. The picture shows the setup with the meter sitting on top of the toaster for convenience. The display is showing approx $0.10, the total cost of electricity used.

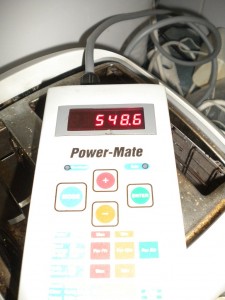
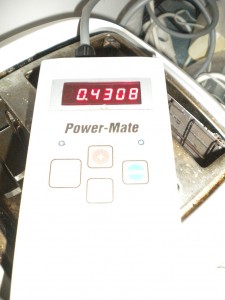
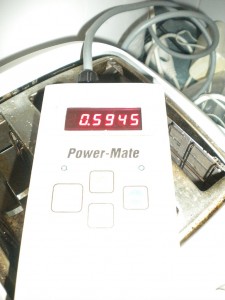
The interesting thing about the breadmaker is that it has three different power consumption points. Most of the time it is just sitting there monitoring the temperature and time as the dough “proves” or rises. Occassionally it switches on the heating element to maintain the ideal proving temperature. It also uses more power when mixing and kneading the dough and , of course, there is the actual cooking time. Suprisingly, during the proving time it only uses about 0.5W which is considerably smaller than the standby load of many appliances. During the heating or cooking phase the power usage climbs to around 550W. The pictures below show the various readings at or near the end of the cooking process.

Maximum power (W)

Total Energy Consumed (kWh)

The Nominal GHG produced (kg CO2-e)
(In Victoria)

So the breadmaker adds about 0.4kWh to our daily use at a cost of approx. $0.10 assuming 1 loaf per day. We would also be emitting around 600g of CO2 if we weren’t on 100% greenpower. Even with the cost of the electricity the cost of the bread is significantly lower than shop bought bread.

Of course, none of this takes into the account the growing, processing, packaging and delivery of the flour and other ingredients. However, these would be similar even for shop bought bread.

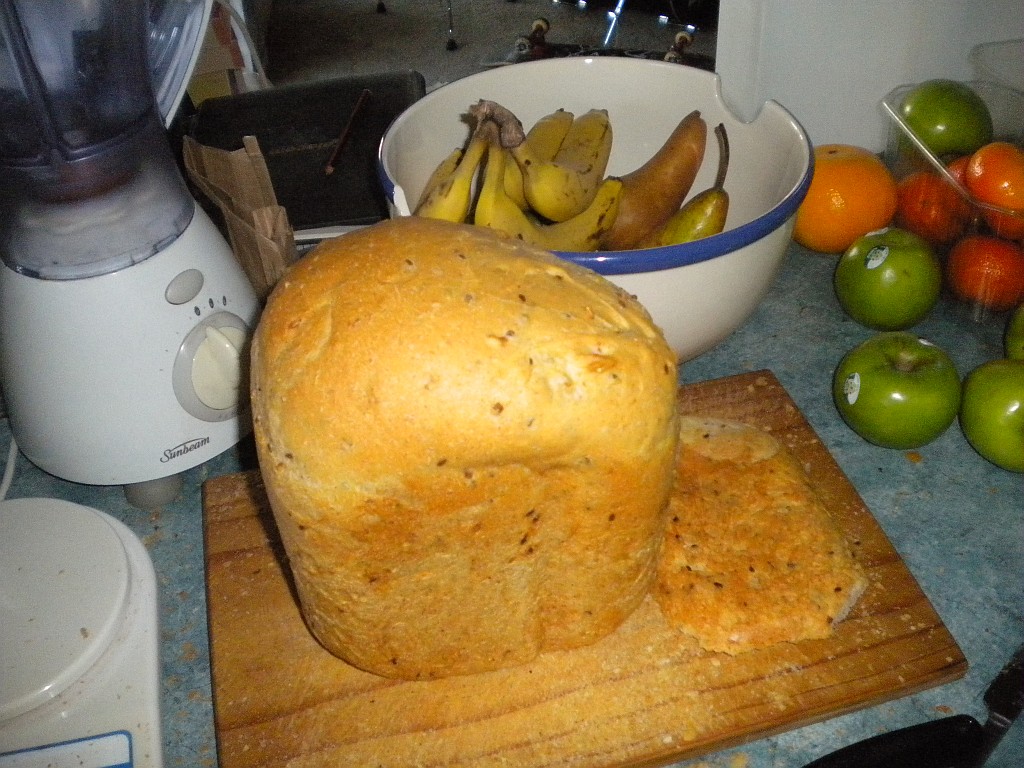
The other important measure is what does the bread taste like. Absolutely delicious with no added bits to be concerned about.

And for those who are interested, here is the recipe we use for our daily bread. You may need to adjust the mix to suit your machine or method.

1 1/4 teaspoons breadmakers yeast
2 cups white bread flour/mix
1 cup multigrain flour/mix
1/2 cup rolled oats
330ml water
1 tablespoon vegetable oil

YUM!

Jul 17

Circle of Life – The Cat and the Tree


Many years ago we were given a kitten. We took it on a bit reluctantly but it grew to be a part of the family. It was a long haired black cat called Gremlin.

As far as cat’s go, it was a bit skittish and really only liked one or two people and, sometimes, the dog. It tolerated me, barely, most of the time, although occassionally it would come up for a pat or to ask for food.

I guess you could describe our relationship as polite indifference.


Quite awhile ago, as it aged, it started losing it’s sight and spent more and more time curled up on the couch or asleep on the window sill in the sun. It also spent more time coming up for a pat or to sit on our laps. Last week we had to take it to the vet as it came down with some sort of cold or flue.

The vet gave her a shot and gave us some anitbiotics to give her. The Vet also said she may have some other problems related to her age and asked if we wanted to get some additional tests done. We said we would see how she responded to the antibiotics first and then make a decision and we took her home.

For the first few days she seemed to come good but was still off her food, but it become increasingly difficult to give her the medication. By day four, it was clear that she was losing strength and she continually tried to go outside and hide. As she became weaker we decided to keep her in the bedroom away from the other cat and the dog, and she sat quietly, only occassionally moving around the bedroom.

And she sat, and sat, and sat. She would respond briefly to a pat or being gently held but it was clear that she just wanted to quietly sit. And so she did.

I was amazed at the graceful way she just seemd to be quietly waiting. She didn’t appear to be in pain or distress. She just quietly sat, waiting!

Late last week, when we got up, there she was, curled up on the floor in the on-suite, no longer waiting.

We had already discussed what we wanted to do when it came time and so, we headed down the street and bought a small wattle tree and took the tree and Gremlin the cat down to an empty spot on the garden.

We buried the cat and planted the wattle on top and we look forward to watching the wattle grow near the bee hives and the Circle of Life continue.

I think I’ll miss that cat!

Jul 10

Cold Feet

Where was that cold breeze coming from? I could feel it around my feet and legs while sitting in the lounge room. So could everyone else. Not a strong breeze by any means, just a gentle wisp now and then, but definitely there and definitely cold.

I checked the window but it was closed, the bubblewrap insulation that we installed earlier in the year (see here) on the bottom half was intact and the heavy curtains were protecting the room pretty well. But that didn’t explain the breeze nor did the slight amount of air leaking around the weather stripping on the front door (which I will have to upgrade as well). The other window was sealed and protected.

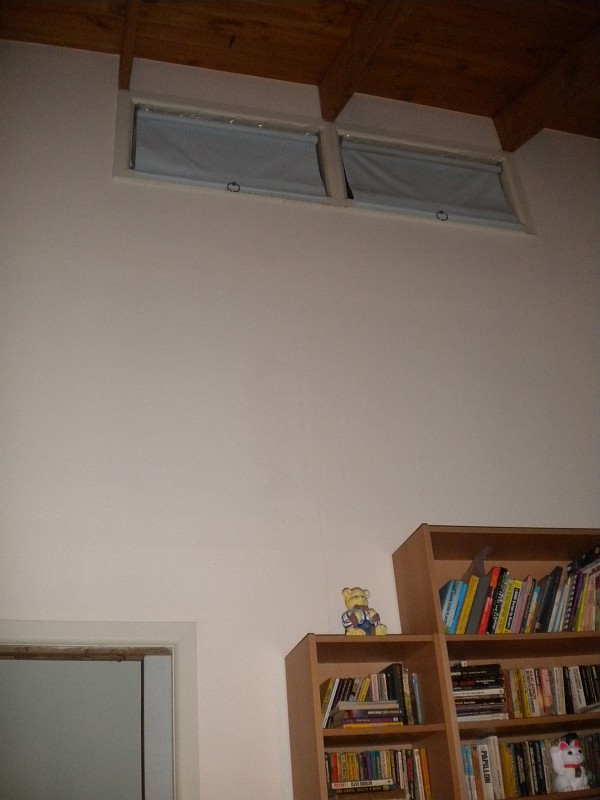
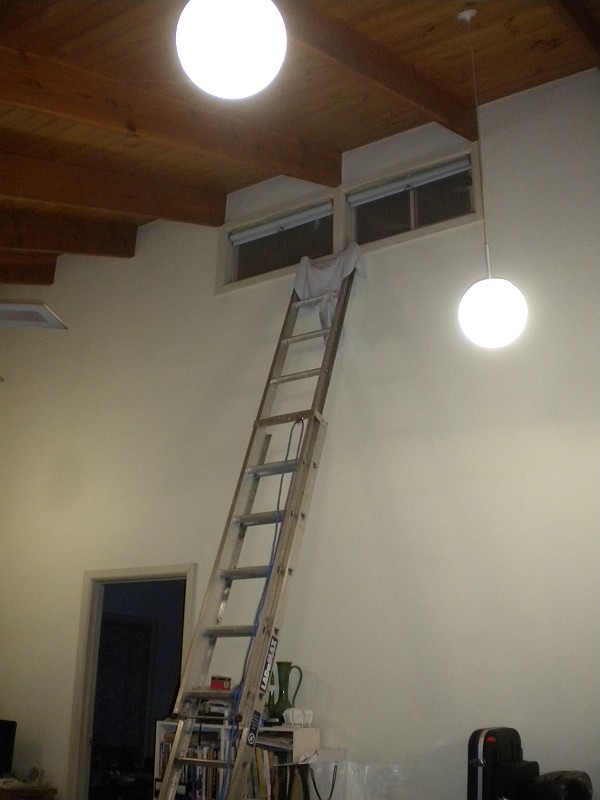
Then we noticed a breeze near the door to the kitchen but it was coming from above! That’s when I had the AHA! moment. I had forgotten about the clerestory windows. Well not quite forgotten so much as stopped remembering that they were on my to-do list. I had put off working on them because it was a bit inconvenient since they are 5 metres off the ground. But it had to be done, and it had to be done now because I had to return the extension ladder to my mate next door the next day.

We have two sets where we have cathedral ceilings in the lounge/dining area and in the family/kitchen area. I tackled the set in the family room first. Because they are at the highest point in the ceiling they lose a lot of heat because the warm air rises. So insulating these should have a significant impact.

Armed with a few cleaning cloths I climbed the ladder and started cleaning the filth that had accumulated from the bugs and condensation. I could feel the cold from the windows quite easily.

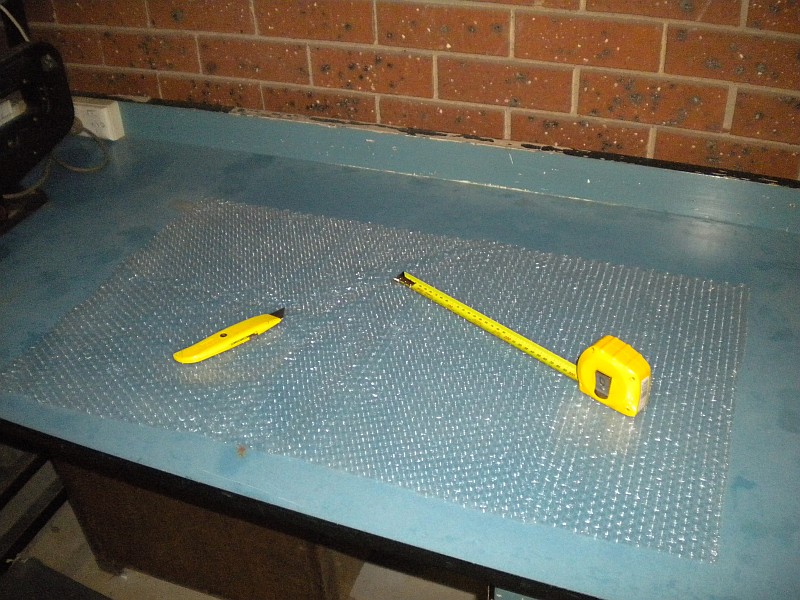
Once the windows were clean I checked the measurements and cut out some bubblewrap for each of the windows. Even though one of the windows can open, and we do open these to help vent hot air in summer, I decided to just staple the bubblewrap up against the frame and sort out a more permanent solution later in the year.

I also decided to use two sheets of bubblewrap (with the bubbles facing each other to increase the airgaps) on each window to increase the insulation effectiveness. As soon as I put the bubblewrap on the windows the effect was amazing. The cold just stopped! It was even more dramatic than the windows at ground level.

When I climbed back dwon the ladder everyone commented that that they could feel the difference. I’m not sure how much was psychological but that’s not a problem either. Perception is important.

Once I had done the second set in the lounge room the effect was definitely noticeable and the room felt noticeably more comfortable. It will be interesting to see over the next week or so whether this has indeed fixed the problem.

So glad I put the effort into climbing up there to do the job.