100mm! – that’s all it would have taken, just 100mm and there would have been no grief whatsoever! Even 50mm, or in fact 25mm, would have made life so much simpler! Grrrrr!
After swearing and cursing for 10 minutes I felt better! I had just discovered, when I started to install the cigarette lighter sockets into the portable energy box (let’s just call it PEB – I know it’s not a great acronym but…), that I didn’t have quite enough room for the push on connector on the rear of the socket. In the words of Agent 86, “Missed it by that much”. Up until then, things had been going reasonably well.
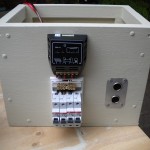
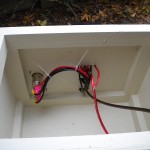
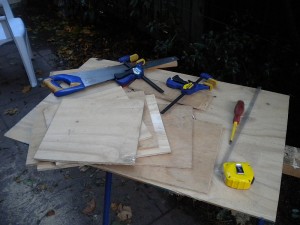
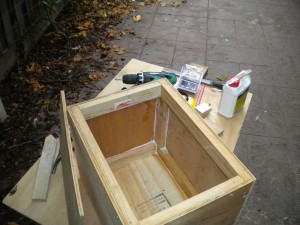
- All painted and ready for assembly
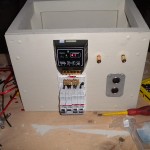
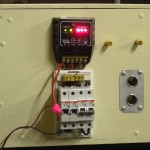
- circuit breakers, regulator and 12V sockets installed
- detail showing modified connections for the 12V sockets
It’s taken longer than anticipated to wire up the unit as the space was a bit tighter than I would have liked (I’m blaming it on the size wood I had available rather than any underestimation of the dimensions required 🙂 ) and I used larger guage cables than was really necessary. But I can guarantee that voltage drop won’t be an issue in this system. The battery cables connecting the two batteries together are the original 50mm cables that came with the batteries, and other odd and ends, from the decommissioned PABX and are intended for far higher currents than I will be subjecting them to.
The problem with the sockets had me stumped for a while as I had already made the cutouts for them, otherwise I could have bought a double socket assembly intended for under the dash and is surface mounted. However, after a bit of thinking and fiddling around and I was able to use a terminal socket to join the connector with about 5mm clearance. Phew!
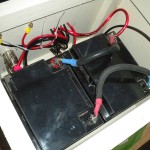
After quite a bit of time the front panel was wired up including the combo plug and screw (banana plug) terminals for the regulator controlled lights. A quick test confirmed all the connections were good. I cleaned up the batteries and installed them in the box and wired them up. Those heavy cables were a bit of a struggle in the tight space but all the cables were finally connected. Now for the big test.
I flicked the circuit breaker and up came the controller lights and all the voltages checked out. I connected a 12V light and the inverter and everthing worked fine. Huzzah!
- Powering up with the on-board batteries
- Completed wiring, the batteries connectors need to be re-colour coded
- Unit being charged by the benchtop power supply mimicking a PV panel
I still have to make the final termination for the PV and possibly put a cover on the front to help protect the exposed components but the unit is now functional. As a final test, I temporarily connected the PV inputs to my bench power supply, which I can set to mimic a 80W PV panel, and switched on the circuit breakers. The charge light came on the regulator started delivering 5A to the batteries and they were slowly climbing above 13V. I left it on for several hours and the batteries were charging well. I switched off the unit for the night and I will check the battery condition in the morning and then give them another few hours of charge.
I will install the final set of terminations over the weekend, tidy up the last tiny things on the box and run some more tests.
Overall I am very happy with the unit and it will be a nice addition to my set of sustainablility tools.

