After much deliberation and procrastination, I finally put saw to wood and constructed the long awaited improved chicken feeder that I’ve been promising myself for ages.
Why a new chook feeder? Well, one of the problems with having truly free range chooks that are un-penned during the day (apart from the risk of Bloody Foxes), is that every freeloading sparrow, pigeon, starling, etc. comes from miles around to have a free feed.
This new feeder should fix that problem by allowing only the chickens to open the lid to get the feed.
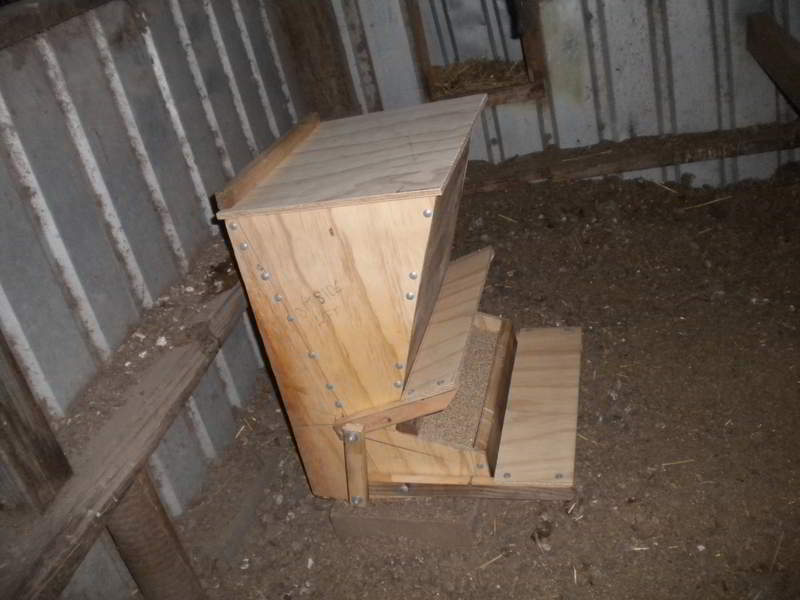
Through a clever arrangement of levers the chickens can open the lid by stepping on the tread at the front of the feeder. However, other birds are not heavy enough to get the lid open.
Hey Presto! No more stolen feed.
If you want to build one yourself there are plenty of plans and photos on the web. One I found particularly useful is at http://www.woodworkingcorner.com/feeder.php.
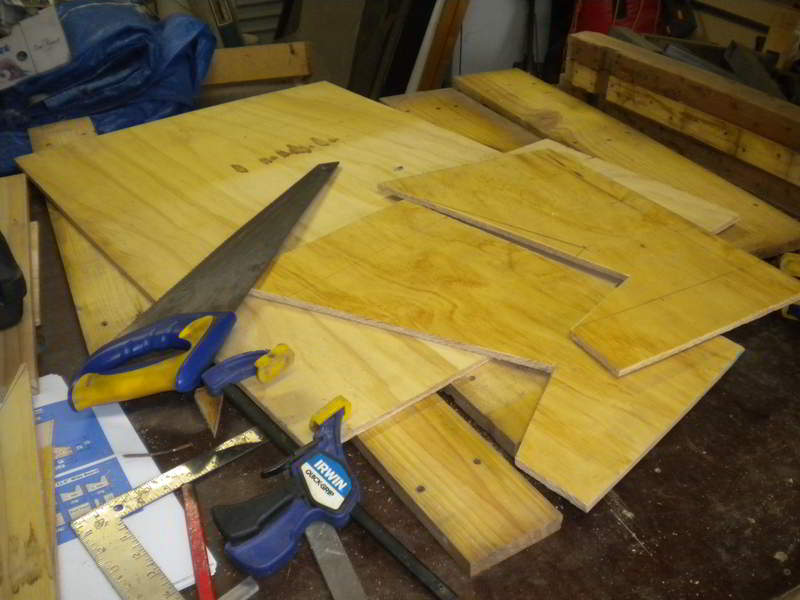
Using a mix of spare plywood, recycled pallets, a bit of glue and lots of screws plus a great deal of sweat and cursing, I was able to cobble together a reasonably functional feeder.
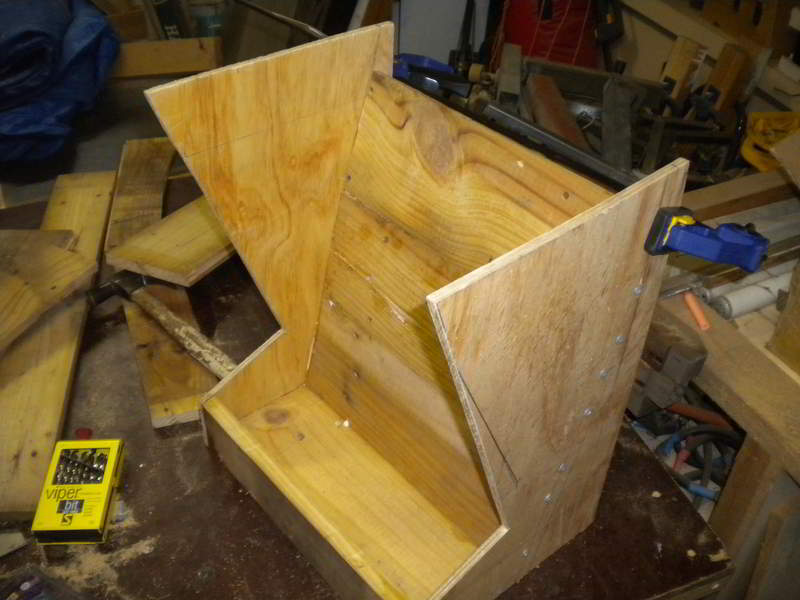
The feeder starting to take shape now that the sides are connected to the back. If you look carefully, you can see the individual slats that have been rebated to fit together with a bit of overlap. The main problem doing it this way is the additional screws to hold each slat in place.
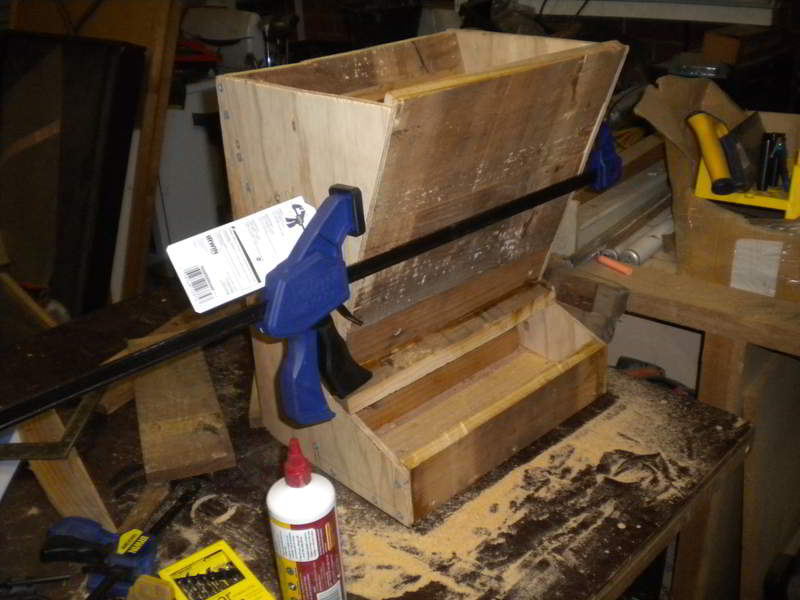
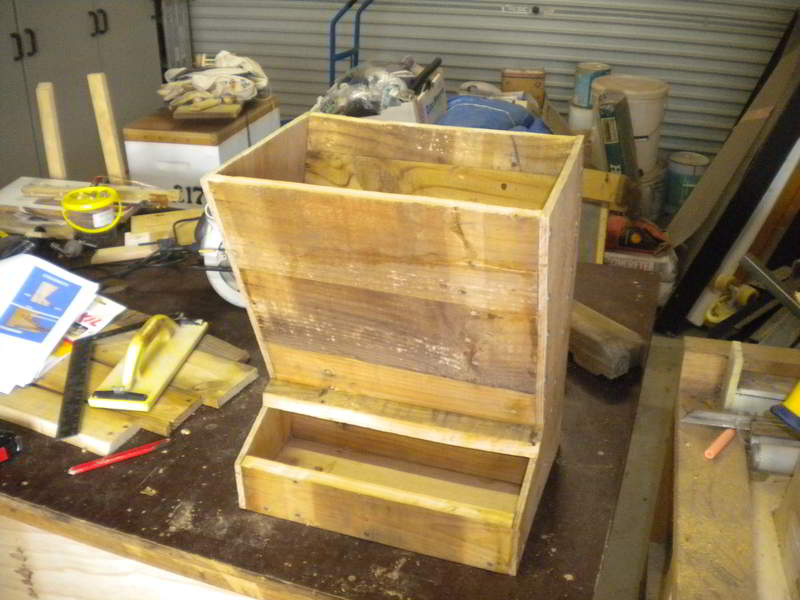
With the front, also made of individual slats, attached, the overall shape is well defined. It time to start on the treadle and the linkages.
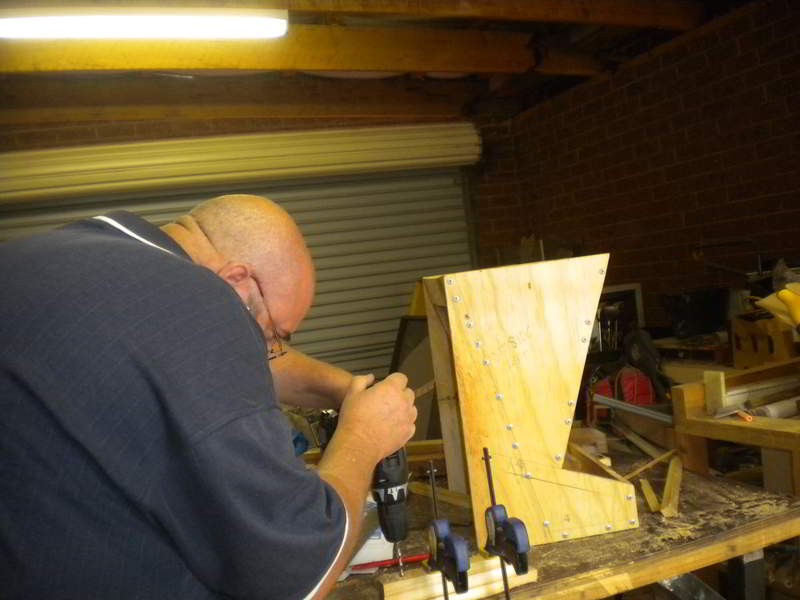
The links were made by ripping the slats into 25mm wide strips and cutting them to length. Then drilling the holes in the links for the bolts. Drilling them in pairs makes sure that the measurements are the same on both sides of the box. It would be nice to have a drill stand (sigh). But that’s a toy for the future.
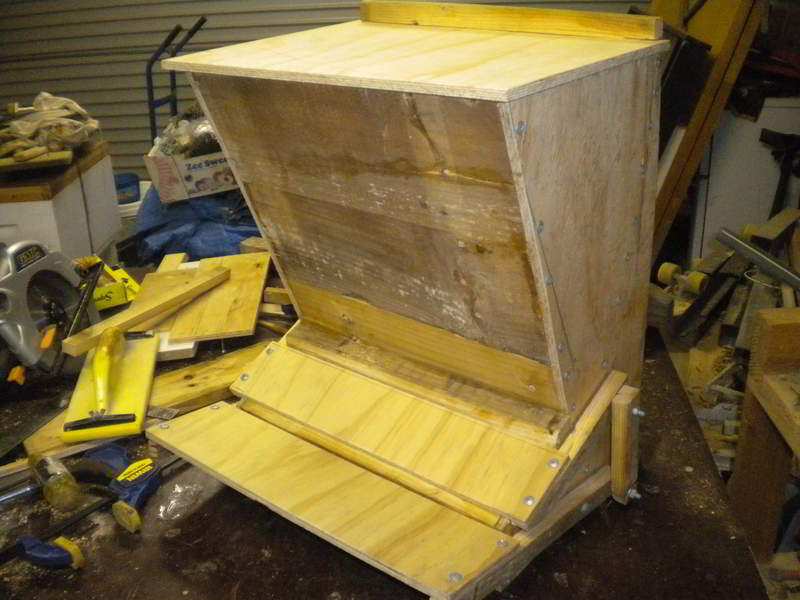
Tada! The finished unit with the feed access closed!
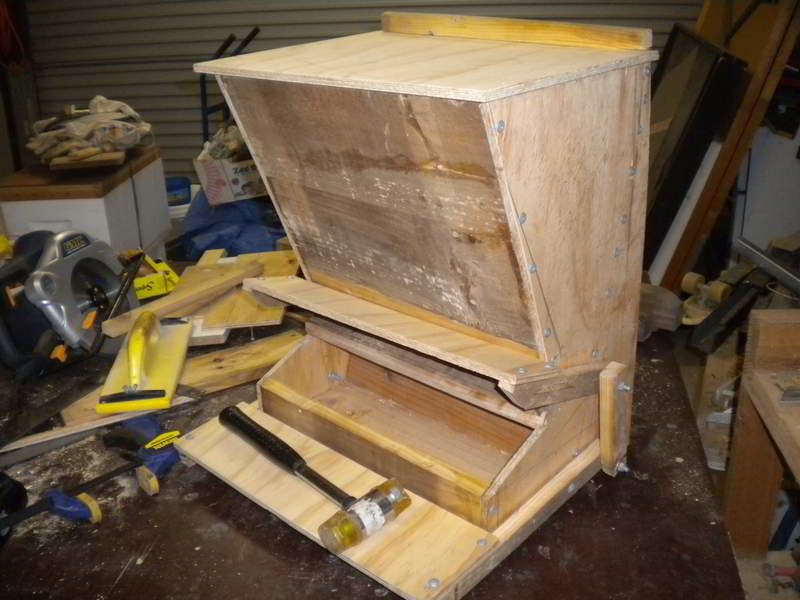
The finished unit with the feed access open…
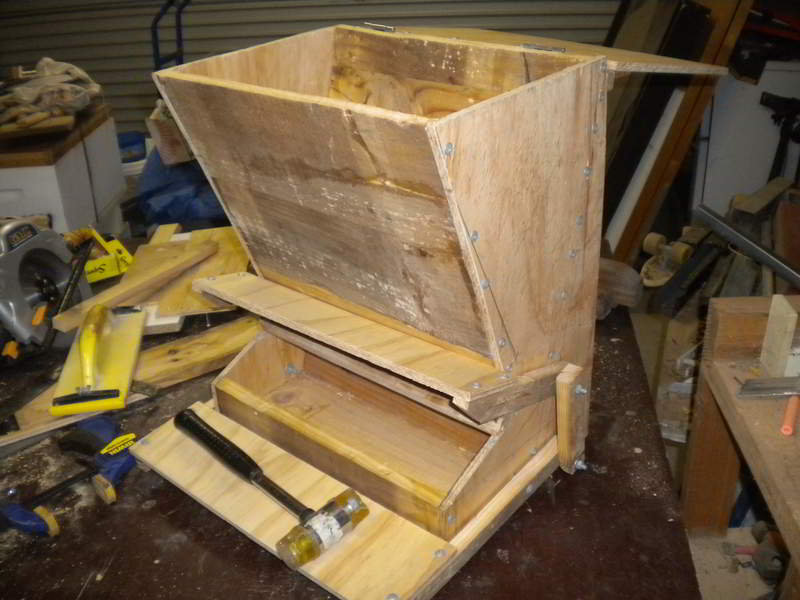
…and with the hopper lid open for filling.

The feeder in place in the chook shed. The chooks looked bemused when I put in the coop but they seem to be using it without any problems. There is a screw in the side holding the access flap open so that they get used to it.
In a few days I will move the screw so that the access is only partially open so they get used to it moving and then, a few days later, I will remove the screw completely and the feeder will be fully functioning.
It’s taken a lot more effort than I anticipated but it will be worth it because I will be able to place many days of feed in the coop without worrying that the freeloaders will get it. Plus it’s always a nice feeling to make useful stuff using recycled or re-purposed material. It also saves a lot of money. Some of these feeders commercially cost hundreds of dollars. This one cost me less than $20 in bolts, screws and glue. The ply was left over from another project and the rest of the timber was from an old recycled pellet.
Very happy with the result. 😎
What have you made using recycled materials?
 The idea is that donated funds provide an interest free loan for small community based systems that are paid back with the savings from using the system. As the funds are paid back they can be used to fund another small system. As more donations are received the project can expand until it is essentially self supporting with a funding pool sufficient to enable continuous rollout of small systems.
![]() Find CORENA on Facebook
Find CORENA on Facebook


