Remember that pumpkin I created from apples (ok, I swapped it for some apples, quince puree and cucmbers). Well, we have already turned it into roast pumpkin, stew, steamed pumpkin and shortly, soup. Amazing!
But Wait! There’s More! . . . Now we’re going to turn it into more pumpkins!
“But how?”, you ask. “By saving the seeds!”, we triumphantly reply, “and planting them next season!”.
We decided to keep the seeds because we liked this pumpkin so much. Saving seeds is a great idea for a number of reasons including growing more of what you like, selecting plants that are suited to your particular climate and preserving heritage or unusual species. It’s also cheaper and very satisfying to save and grow from your own seeds. It not hard, and doesn’t take much effort, although some seeds are a bit harder to harvest, clean and store than others and some are very hard to germinate, particulalry some natives.
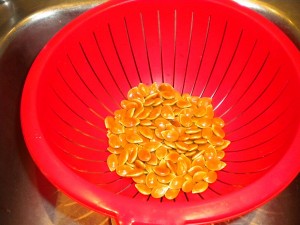
 Saving pumpkin seeds is very easy, different people have different techniques and this is the one we used. First we scooped out the seeds and pulled them from the stringy flesh that holds them in place. I find the easiest way to remove the seeds from the pumpkin is with a tablespoon. Once they are roughly cleaned, soak them in a bowl of water for a day or two to loosen the remain pulp around them and give them another wash in a colander and leave to drain.
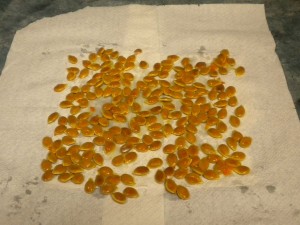
When they are drained spread them out on a bit of kitchen paper or cloth to dry.
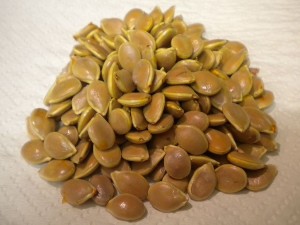
 Once they’re dry carefully lift them from the paper or cloth. They might stick a bit as they dry out but they should be able to be lifted reasonably easily.
They can then be stored in a jar in a cool dark place until ready to be planted.
We got about 250 seeds from this one pumpkin so if we planted them all and 50% germinated and they all produced, say, four pumpkins that’s 500 pumpkins! Not bad for a couple of apples, quince and cucumber!
Roll on summer – I want some of them, there pumpkins!
